
Make a Selection a Separate Layer in Photoshop
Turning a selection into its own layer in Photoshop takes one keyboard shortcut once you decide whether to copy the pixels, cut them out of the original layer, or keep everything non-destructive with a mask. The harder part comes next: what happens to the area behind the object when you move it.
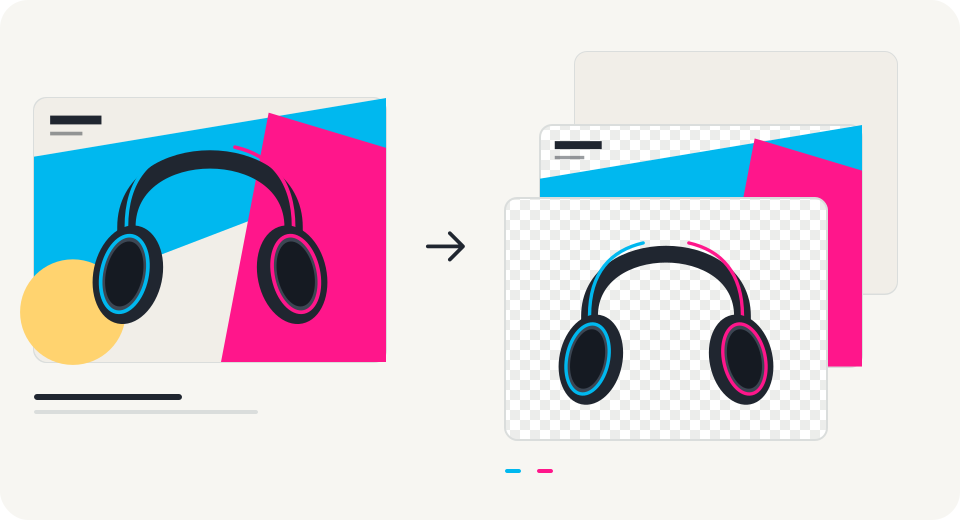
1. Select the element you want to isolate
Pick a selection tool that fits the shape: Rectangular or Elliptical Marquee (M) for clean boxes and badges, Lasso (L) for quick freehand outlines, or Object Selection (W) and Select -> Subject for products and people. Refine fuzzy edges or stray background fringes in Select -> Select and Mask before moving the selection onto its own layer.
2. Copy to a new layer with Layer Via Copy (Ctrl+J / Cmd+J)
With your selection active and the source layer highlighted in the Layers panel, choose Layer -> New -> Layer Via Copy—or press Ctrl+J (Windows) or Cmd+J (Mac). Photoshop duplicates only the selected pixels onto a new transparent layer directly above the active layer, leaving the original layer untouched underneath. Use this whenever you want to recolor, blur, or add drop shadows to the subject without losing your backup.
3. Cut to a new layer with Layer Via Cut (Shift+Ctrl+J / Shift+Cmd+J)
Choose Layer -> New -> Layer Via Cut (Shift+Ctrl+J on Windows, Shift+Cmd+J on Mac) when you want to lift the pixels out of the original layer completely instead of duplicating them. This leaves a transparent cutout hole in the source layer below. If Layer Via Cut is grayed out, check why: a locked Background layer cannot contain transparency (click its lock icon or double-click it to convert it to Layer 0 first), and a Smart Object blocks direct pixel cuts (rasterize a copy via Layer -> Rasterize -> Smart Object, or use Layer Via Copy or a mask instead).
4. Keep pixels intact with a non-destructive Layer Mask
If you think you might adjust the cutout edge later, avoid cutting pixels permanently. With your selection active, choose Layer -> Layer Mask -> Reveal Selection (or click Add Layer Mask in the Layers panel) to hide everything outside the selection while keeping all original pixels recoverable inside the layer. You can duplicate the source layer first (Ctrl+J / Cmd+J with no active selection) so one layer holds the masked foreground and the copy underneath keeps the full scene.
5. Handle the empty hole left behind when you move the layer
Both Layer Via Copy and Layer Via Cut only separate visible pixels—neither reveals what sat behind an overlapping object. As soon as you drag a cut sneaker or sticker aside, you either uncover a duplicate underneath (from Copy) or an empty hole (from Cut) that has to be repaired manually with Edit -> Content-Aware Fill, the Remove tool, or Clone Stamp. When you have a flattened graphic with overlapping elements—like a sneaker sitting across bold headline text—Unmerge splits the flat image into separate movable raster layers and fills in the covered background areas. Filled regions are AI-generated from visible context rather than recovered from an original file, and text or shapes stay raster pixels.