
Your client sent a JPG. How do you change one object?
Start by asking for the original layered file. A JPG contains only the flattened pixels, so its original objects, fonts, masks, and effects cannot be recovered. If the source is unavailable, choose the approach that fits the edit you need.
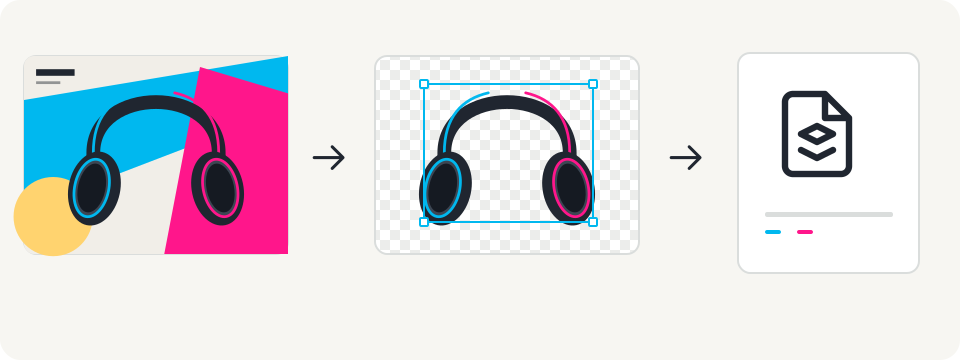
1. Match the method to the requested change
For a new caption, a simple overlay may be enough. For moving or replacing a visible product, a selection and mask can isolate its existing pixels. If you need content hidden behind an object, that area needs to be recreated or generated.
2. Keep the original as a reference
Preserve an untouched copy before changing the composition. Check the subject’s edges against both a light and a dark background. Shadows, reflections, and small details may need their own layers or manual refinement.
3. Try the layer workflow
Open the headphone demo, select Headphones in the layer panel, and drag on the canvas. Hide Shapes to see what stays on the other layers. The demo is an authored illustration, so it shows the editing workflow without representing model quality.
4. Export a document you can keep editing
Choose Layered PSD to preserve independent raster layers. PNG ZIP is useful when another tool needs separate transparent assets. Neither format restores native text, vector paths, or the client’s original Photoshop project.